Reading the Match Preview
The Match Preview is the most important screen in POV Syncer — it tells you what's actually going to end up in your video before you commit to rendering. Here's how to read it.
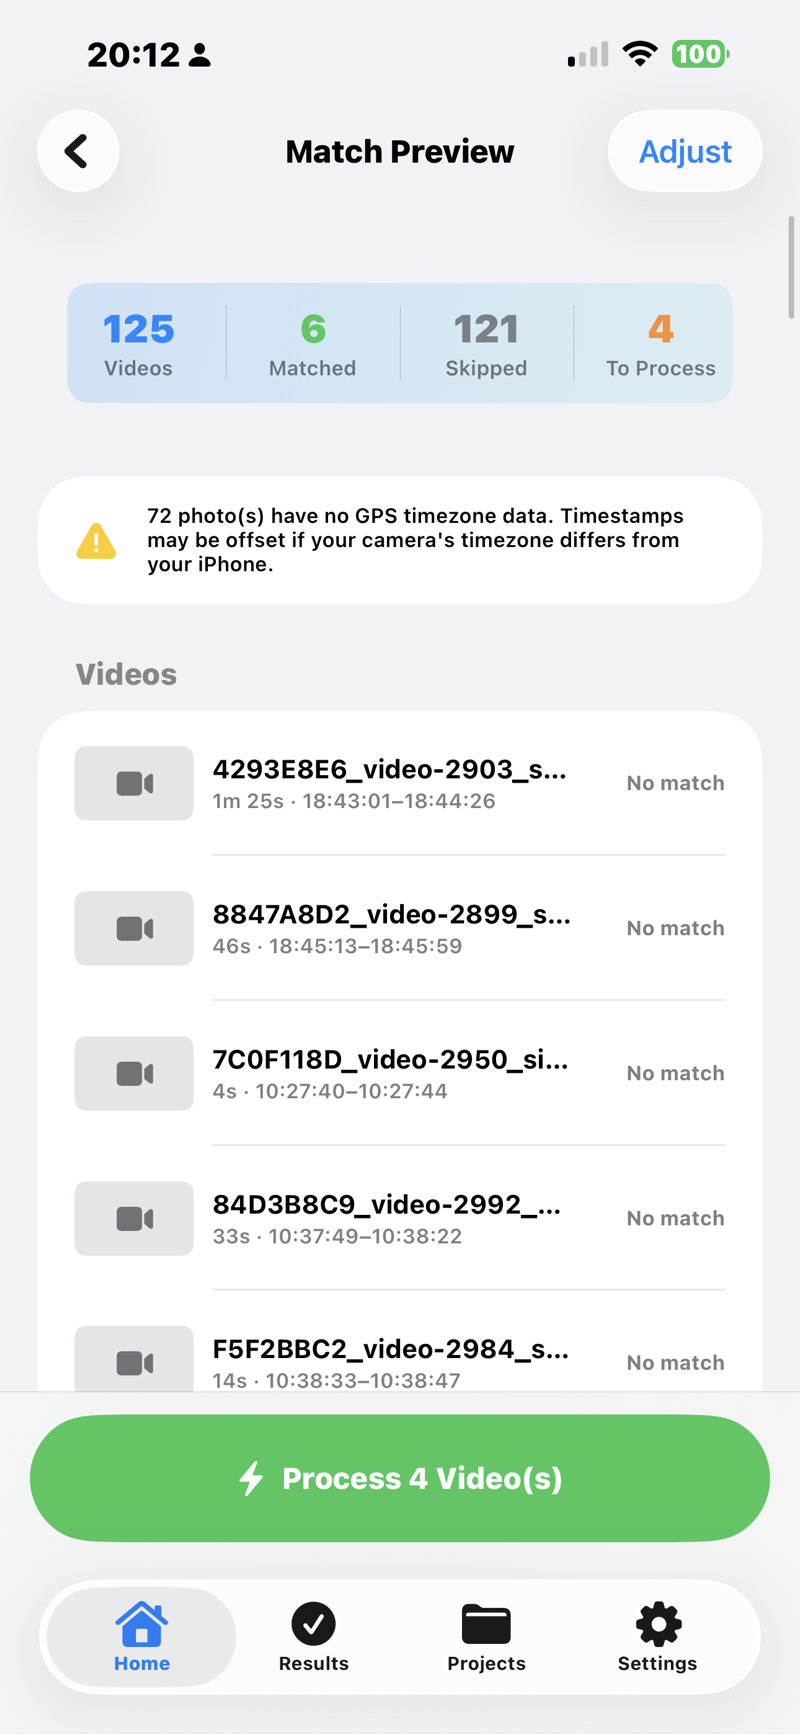
What you're looking at
Match Preview opens automatically after you tap Preview Matches on the Home screen. It shows you one card per video you selected, sorted by start time. Each card has:
- The video filename and duration
- The number of matched photos (e.g. 6 matches)
- A blue timeline strip with one dot per matched photo, positioned where the photo will appear in the final render
- An expandable list of the actual matched photo filenames and timestamps
What the dots tell you
Each blue dot is one photo. Its position on the strip tells you where the photo will fall in the video timeline — left edge = start of video, right edge = end. If the dots cluster at one end, your photos were taken during one portion of the shoot; if they're spread out, they cover the whole video.
If a single video matches more than 100 photos, POV Syncer caps the rendered overlays at 100 (evenly spaced) and shows fewer dots than the actual match count. You'll see a warning in the processing log when this happens.
The tolerance slider
At the top of Match Preview, tap Adjust Tolerance. A sheet opens with a slider that controls the matching window:
Default: ±15 seconds
A photo whose EXIF timestamp falls within 15 seconds of the video's start or end is considered a match. This catches photos taken just before pressing record on the POV camera (the classic "I shot a still, then started filming" sequence).

Tighten it for cleaner matches
Slide left toward 0s if you only want photos taken during the actual video, not just before or after. Good for a curated highlight reel.
Widen it to catch stragglers
Slide right toward 60s if your shoot was loosely timed and you want the app to include photos from the same minute or two as the clip. Risk: you may pull in unrelated photos.
Removing clips that didn't match anything
Some videos will have zero matches — usually because you never took a photo during that clip. POV Syncer still processes them, but with no photo overlays they're identical to the original video plus shutter sounds (silence).
To skip them, swipe left on the card to reveal a Remove button. Tapping it drops the video from the processing queue.

When matches don't look right
"Lots of matches I didn't expect"
You probably have photos with bad timestamps (e.g. AirDrop'd from another phone with a wrong clock) creeping into the matching window. Tighten the tolerance, or use a dedicated POV album in Photos before opening the picker (see Selecting Photos & Videos).
"My photos should match but don't"
The most common cause: your POV camera's clock is wrong or in a different timezone. POV Syncer falls back through four EXIF strategies (GPS UTC, OffsetTimeOriginal, GPS-corrected timezone, device timezone), so if any of those is off, matching drifts.
"Some matches show but the photos don't render"
Usually iCloud photos that haven't been downloaded locally. See Troubleshooting — POV Syncer writes a clear log line for each photo it couldn't load.
When you're happy
Tap Start Processing at the bottom. The Processing screen takes over and starts rendering the videos sequentially.